How can you replace worn and broken plastic channels within a patio or pool deck? What can you do when your trench drain is separating from the concrete and lifting? We get these types of questions more often than you would think.
Answer :
Simple answer is to replace the channel drain.
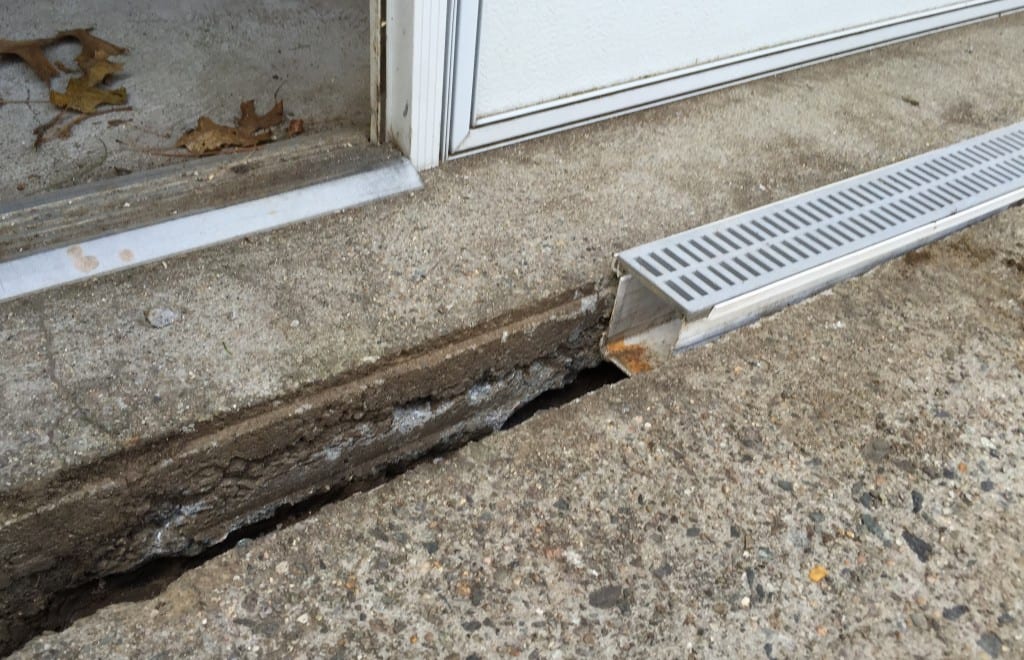
The main concern with these types of issues is with the initial installation’s integrity. Since the drain is lifting there is a greater chance of damage to the grating and channels, if not already present. No trench drain, not even a plastic patio drain, should pull up easily.

A patio drain installed in concrete should be “gripping” the concrete. If not properly maintained, as plastic drains age they tend to separate, letting water between the edges. Ultimately, this deteriorates the concrete and creates troublesome moisture within the patio floor. For more information on sealing damp concrete, this helpful article by The Concrete Network has more detail.
This is why most new models of plastic channel drains feature some sort of rib or ledge. Extra surface area gives more “grip” and lends the drain more longevity it wouldn’t otherwise have. The NDS® Pro Series channel drain product line prides itself on this feature.
Two solutions to the underlying problem:
1 : Using a concrete saw, cut a minimum 4” on either side of the drain. Remove the old channels and concrete. Pour concrete around a new patio drain of the same size – but one that has more “grip.”
2: Without widening the trench, remove the current patio drain. Secure and install a smaller channel drain in concrete. Since the channel is smaller, you may need an outlet adapter to meet the old piping hook-up (e.g., a 2” outlet to 4” pipe adapter).
Proper installation is equally important as maintaining your trench drain system and will most often save money in the long run. This annual or bi-annual drain maintenance may help to hinder the lifting and separation issues that are often seen in poorly installed drain systems.
Trench Drain Systems is one of the largest distributors in the United States who are committed to providing you with quick solutions to all your surface water runoff problems. Our professional staff can assess your project requirements and quickly offer you competitive pricing and information regarding the products you need. Contact us for a free quote or for further information on drainage solutions visit TrenchDrain.com or DrainageKits.com
Phone: 610-882-3630
Email: Shop@TrenchDrain.com
Click here for a fast and free quote!